

Pop-over wrap for travel, or whenever.
By Samina Mirza contributor
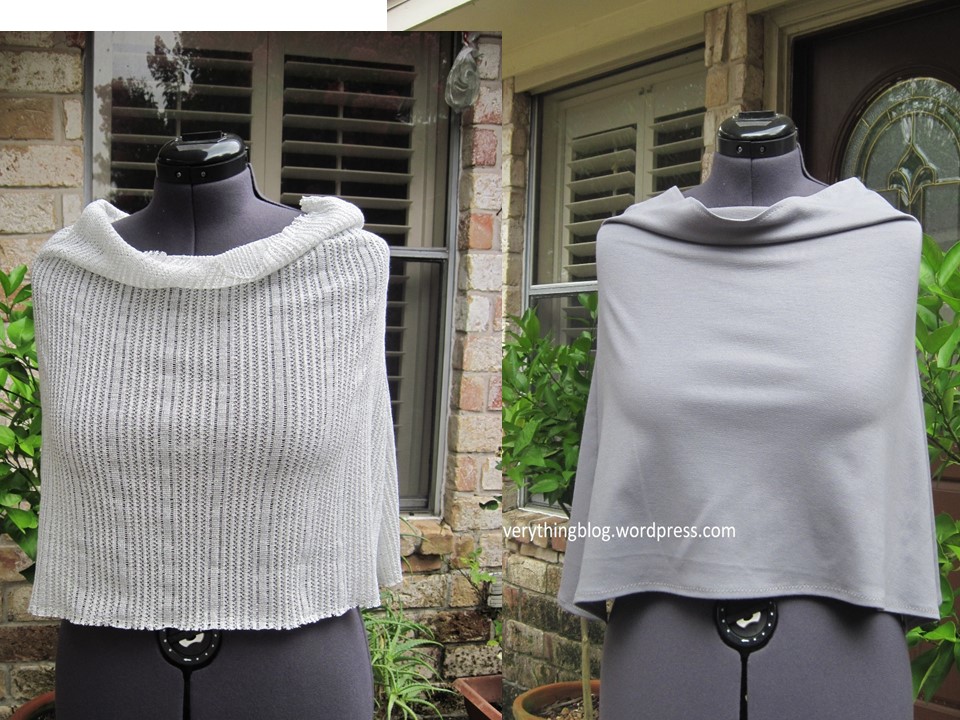
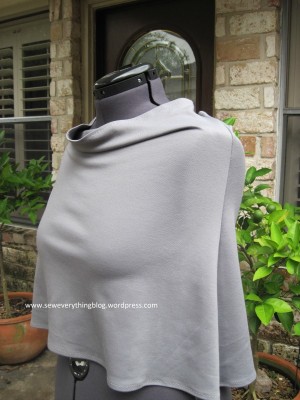
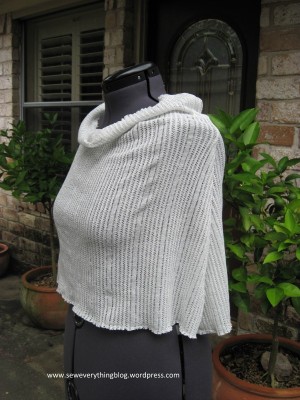
Hi Masalamommas! Today I’m going to nudge you (and guide a little) towards making a poncho-like wrap which is very chic, very handy in the summer, during air travel, or in arctic level air conditioning. Its sewn up in knit fabric; here you see it in two different kinds of knit: a dense ponte knit on the right, and a loosely woven sweater knit type on the left.
The original wrap by Julie Eilber was featured on the WeAllSew blog by the Bernina Sewing Machine Company. Bernina offered up a free downloadable PDF pattern with instructions, and that is where I am directing you.
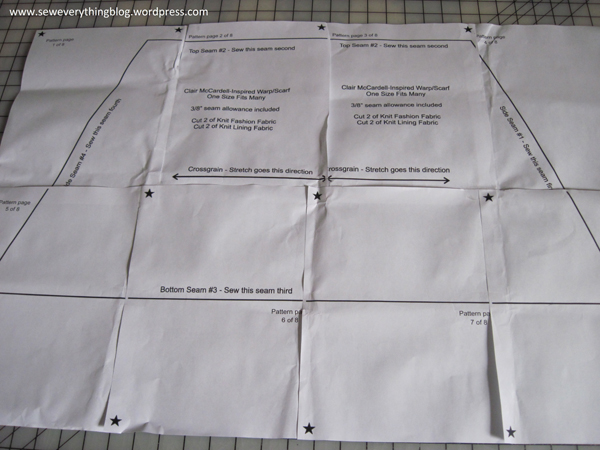
Julie adapted a post-WWII design by Claire McCardell; it is lined, but the lining can be skipped. For my own wrap I kept it unlined. So, go head! Download the digital pattern from the We All Sew link, put the pieces together, as you see I’ve done, and have a go at this chic “popover”. It’s very easy; there are two side seams and two hems (top and bottom) on this wrap; which makes it quick to sew.
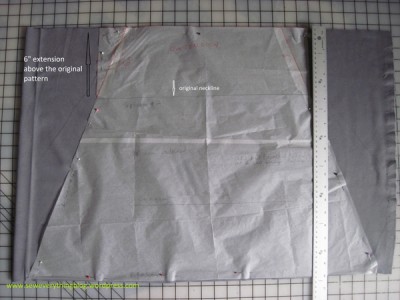
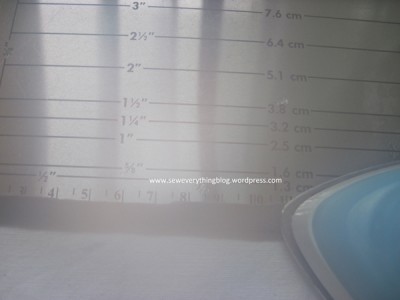
The picture below shows my tracing of the original; I tweaked the pattern by extending the neckline upward. When the finished wrap is worn, the extension creates a cowl effect.
I’m going to assume that you have a sewing machine and know how to sew. But have you sewn on knit fabric? It’s a little bit different from sewing cottons.
The original instructions use a serger to make the wrap, but it can be sewn up just as beautifully on a regular sewing machine. For the wraps in this post, I used my sewing machine. Maybe the next one will be serged together, but I want to make the point that it is possible to create chic fashion with the simplest sewing machine.
Here are some things to remember should you decide to sew this up:
- This is a “one-size-fits-many” pattern; however, it can be adjusted in width (remember to allow extra fabric for it). Remember that knit fabric stretches but it will stretch only so far and still look good. The stretchiest side of fabric goes around the body.
- For a first knit project, select a relatively stable knit. Ask for knit interlock or ponte knit. This pattern suggests sweater-knit fabric, but unless you’re experienced, I would advise selecting a stable knit. Just be mindful that an interlock or a ponte knit is easier to sew, but is not as stretchy as a sweater knit. In that case, make this wrap a little larger. You can just cut it out a little larger on the sides, or you can indulge in some extra effort and make the paper pattern a little larger before cutting out the fabric.
- Use a machine needle made for knit fabric. They’re called “ball point” needles, or “stretch” needles. They look just like regular machine needles, except the point of the needle is made to go through knits without snagging.
- It’s best to use polyester thread.
- Remember one important rule that applies when sewing any fabric: do not let your fabric hang off the table!! That is asking for bad results, especially in knits.
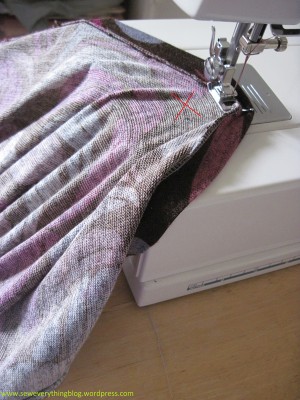
- When sewing seams on knit fabric, use a zig-zag stitch rather than a straight stitch. Why? Because a zig-zag will maintain the stretch factor of the fabric. When sewing the side seams, you can adjust the stitch length and width so that it does not zig and zag quite so much – it will still maintain the stretch properties. Sew a little on a scrap of your knit before starting on the wrap.

- You have the option of sewing up the hems before joining the side seams. Fold up and press ½” to the wrong side of the fabric at the bottom, and zig-zag stitch along the edge, as you see in the photo of the finished wrap. Do the same at the neckline. As you can see I left the light gray raschel knit version un-hemmed – remember that knits do not ravel.
- Now the side seams are ready to be joined. Pin them together, adjust the zig-zag stitch on your machine (if it has the adjustment capability) to a longer length and a smaller width. Sew up the side seams.
- Since knits do not ravel, there is no need to “finish” the seams edges.
And, we’re done! Feel free to ask any questions in the comment section below. I’m very happy to answer them.
Follow Samina at @seweverything and on her blog at seweverything.wordpress.com
There are no comments
Add yours