

By Samina Mirza
Follow Samina @seweverything and on her blog: seweverythingblog.wordpress.com
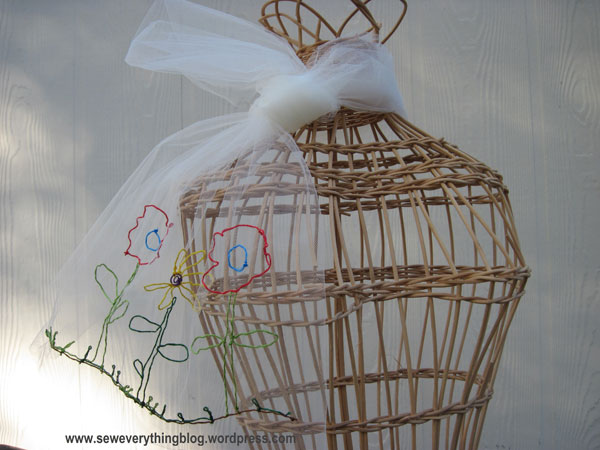
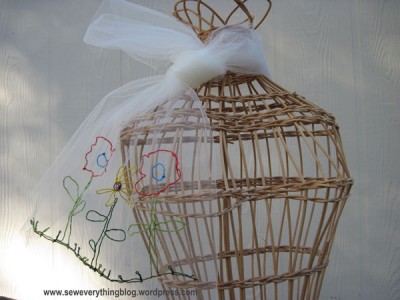
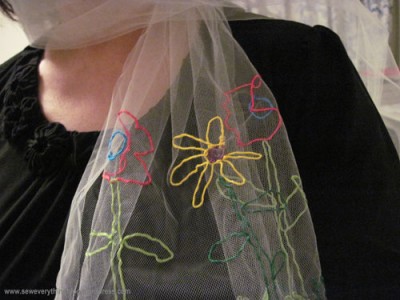
Here’s how to make a very personalized scarf for your tot’s teacher featuring your child’s artwork! The inspiration for this DIY project was Angelina Jolie’s bridal veil.
Supplies:
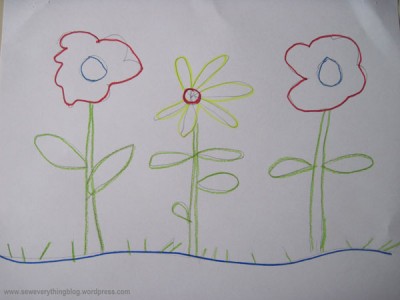
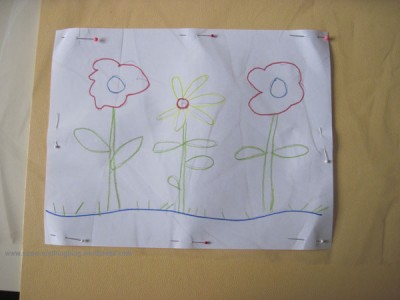
Your child’s drawing (feel free to use only part of the drawing rather than the whole). (Full disclosure: I had to reach out to the 5 year old within me to create the artwork featured here)
Tulle fabric (a fine nylon or polyester netting) in ecru or white, 18” x 36”. Half yard should be enough for a couple of scarves or more.
Embroidery floss in colors to match artwork.
Embroidery needle (it has a larger eye than regular sewing needles).
Seam sealant such as Fray Check ©
Method:
- Place the drawing under the tulle fabric at one end, aligning the bottom edges of paper and fabric. Pin all around and in between motifs. In case you’re wondering, tracing with a pen or pencil does not work here since the tulle is so fine and hole-y that pen tracings will not show.
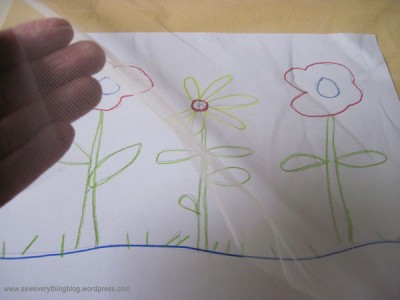
- Thread needle with approximately 18” of embroidery floss in the appropriate color. Start sewing a running stitch going over and under 3 “netting holes” following lines on the artwork but not piercing the paper. It’s quite hard to see the holes in this thin fabric, so you can approximate the number of threads you pick up. TIP: Be careful not to stretch the fabric, and do not pull the floss too tight after each stitch. Sew with a gentle hand. I highly recommend a few practice stitches to get a feel for it.
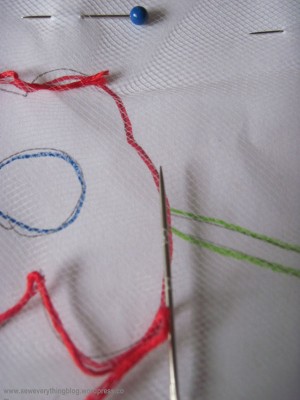
- At the end of the motif, make a knot by making a loop and threading the needle through it. Pull the thread through to form a knot. TIP: keep a finger or thumb on the stitch when pulling the thread so it does not knot up before you want it to.
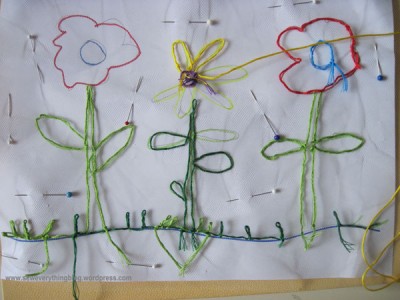
- Following steps 2 and 3 to complete the drawing, changing floss colors as needed. Your project is going to look a tad messy at this point, but it’ll turn into a beauty once you finish! Amazingly, tulle is such a thin fabric that the embroidery floss will seem to float on the fabric.
- Apply seam sealant to all knots (a little goes a long way) and let dry. I mean, masala mommas, leave it alone!
- Before removing the pins, make sure you did not miss anything, and all lines and motifs are “thread-traced” with the appropriate color embroidery floss. The beauty of this is you do not have to stitch in perfect straight lines. If a thread goes a little to the side, it’s OK – even more childlike and charming.
- Remove pins, cut away any loose embroidery threads after the knots are dry.
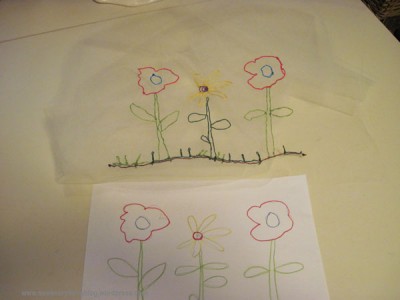
- I embroidered just one end of the scarf. You can do both ends, or cover the entire scarf with your child’s artwork.
- No need to finish the edges of the scarf, unless you want to. Tulle does not fray. You can finish the edges by folding and sewing with a running stitch.
This is a quickly made project; while you’re at it make one for yourself! You have the option to make this with an adult motif rather than a child’s artwork. Maybe with shiny metallic thread….
There are no comments
Add yours